
I’ve been a fan of at-home waxing for years. It’s so incredibly easy, so much cheaper than a salon and even shaving some times, and well, you don’t have to work up the guts to bare all to someone else for a good waxing. While I don’t recommend giving your self a brazilian wax at home, unless you are just THAT good at it (I unfortunately made this horrible mistake once.. don’t ask…), at home waxing kits can be amazing for removing pretty much any unwanted hair on the face or body. I’ve easily removed unwanted hair from my underarms (before I had laser hair removal done) and have been doing my own eyebrows for years once my sister showed me just how easy it is!
The trouble you get into doing at-home wax kits, is sometimes they can be pricier than you think, especially by the time you buy the expensive wax warmer. Which is exactly why I was so thrilled to find the All Natural Sugar Wax at-home hair removal kit by BodyHonee. The crazy cool thing about this kit, is there is no electrical wax warmer needed! Nope, this wax comes in a microwave-safe container you just pop in the microwave and heat up! Pretty amazing right! I love this because you can start waxing immediately too instead of waiting for your wax warmer to warm up, which can take anywhere from 30 minutes to an hour!

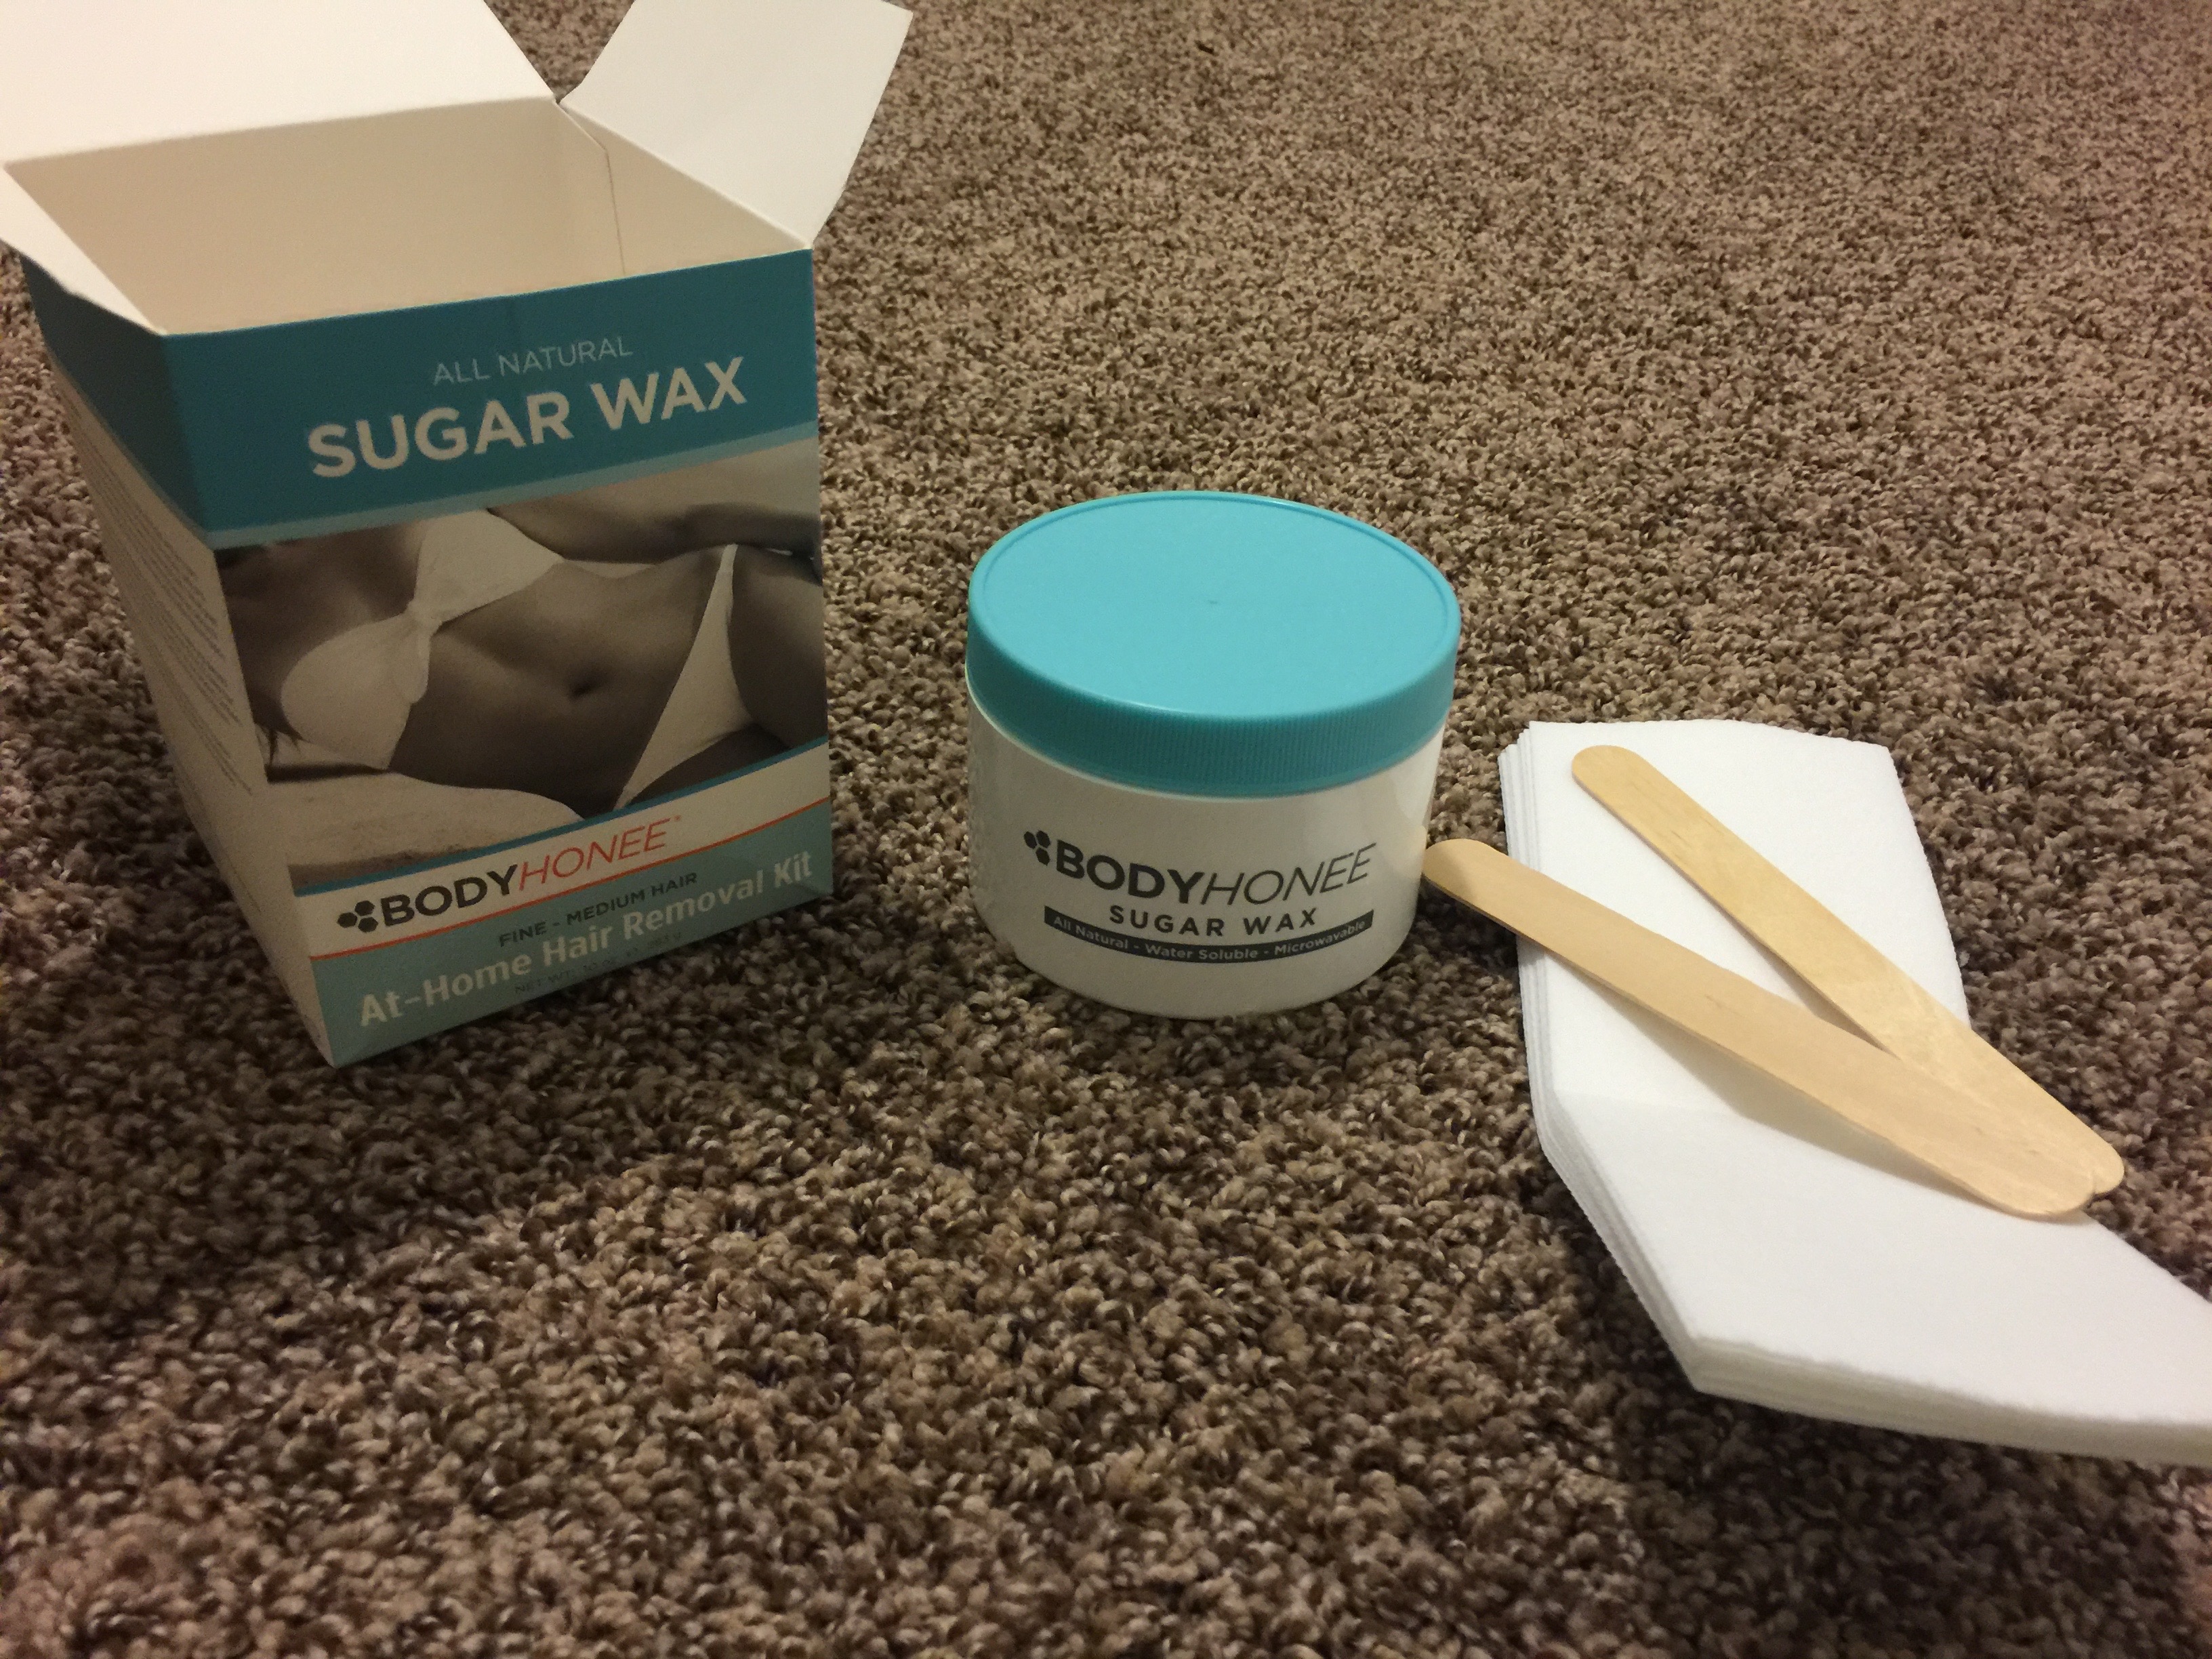
This amazing kit comes with everything you need to get started on some waxing too! 10 oz of sugar wax, 2 wooden spatulas for applying wax, and 10 waxing strips. (You can also purchase more wooden spatulas and waxing strips directly from BodyHonee) And the kit is only $20! That is some of the most inexpensive at-home wax I’ve ever seen! Not only are you going to get high quality wax and a great kit for your next at-home wax, but being that they use only natural products in their wax (sucrose, lemon juice, and and sea salt), it also comes off skin super easily. If you miss or don’t leave the waxing strip on long enough, you can just take a wet washcloth to your skin and this fantastic water-soluble wax will come right off. This is amazing! If you’ve ever used at-home waxing in the past, you probably know that sometimes wax can get stuck on the skin and be a real B$^!# to get off! Let’s just say that is a big part of why I don’t give my self brazillians at home anymore. Yeah, OUCH!! However, with the BodyHonee kit, it has totally given me the guts to try again just knowing that if anything goes wrong, its an easy fix. Of course, assuming I can stand some pain in a very sensitive area!
Speaking of pain, let’s get on with just how well this works at home and if it does indeed cause some pain shall we?

I got to try this amazing at home waxing kit out over the last week, and boy was I excited to see if I would get as good as results using microwaveable wax made from natural products as other non natural waxing products I’ve used in the past. After heating up my wax in the microwave for 30 seconds and cooling for a minute, I found it was the perfect consistency for applying. I decided to try it out on my legs. It should be noted that this wax only works on hair with a light to medium thickness. And of course, when waxing, you want to grow your hair out to about a quarter inch before waxing.
Also before you get started, make sure you start with a clean, lotion-free body. You can also use baby powder to help the wax adhere to the skin, especially if you live in a more humid climate.
Having done laser hair removal a few years back, I have blond hairs that grow in on my legs (laser hair removal doesn’t work with blonde hair). They come in pretty light and very soft, but yet can still grow so I have to shave every few weeks. My hair was about the right length when my waxing kit showed up so I couldn’t wait to try it out. Hair should be between 1/4 to 3/4 inch for best results.
The wax is very easy to use and this is the perfect at home wax for even the novice to try! It’s very straight forward, and as I said above, very hard to mess up since the wax is water soluble and washes right off.
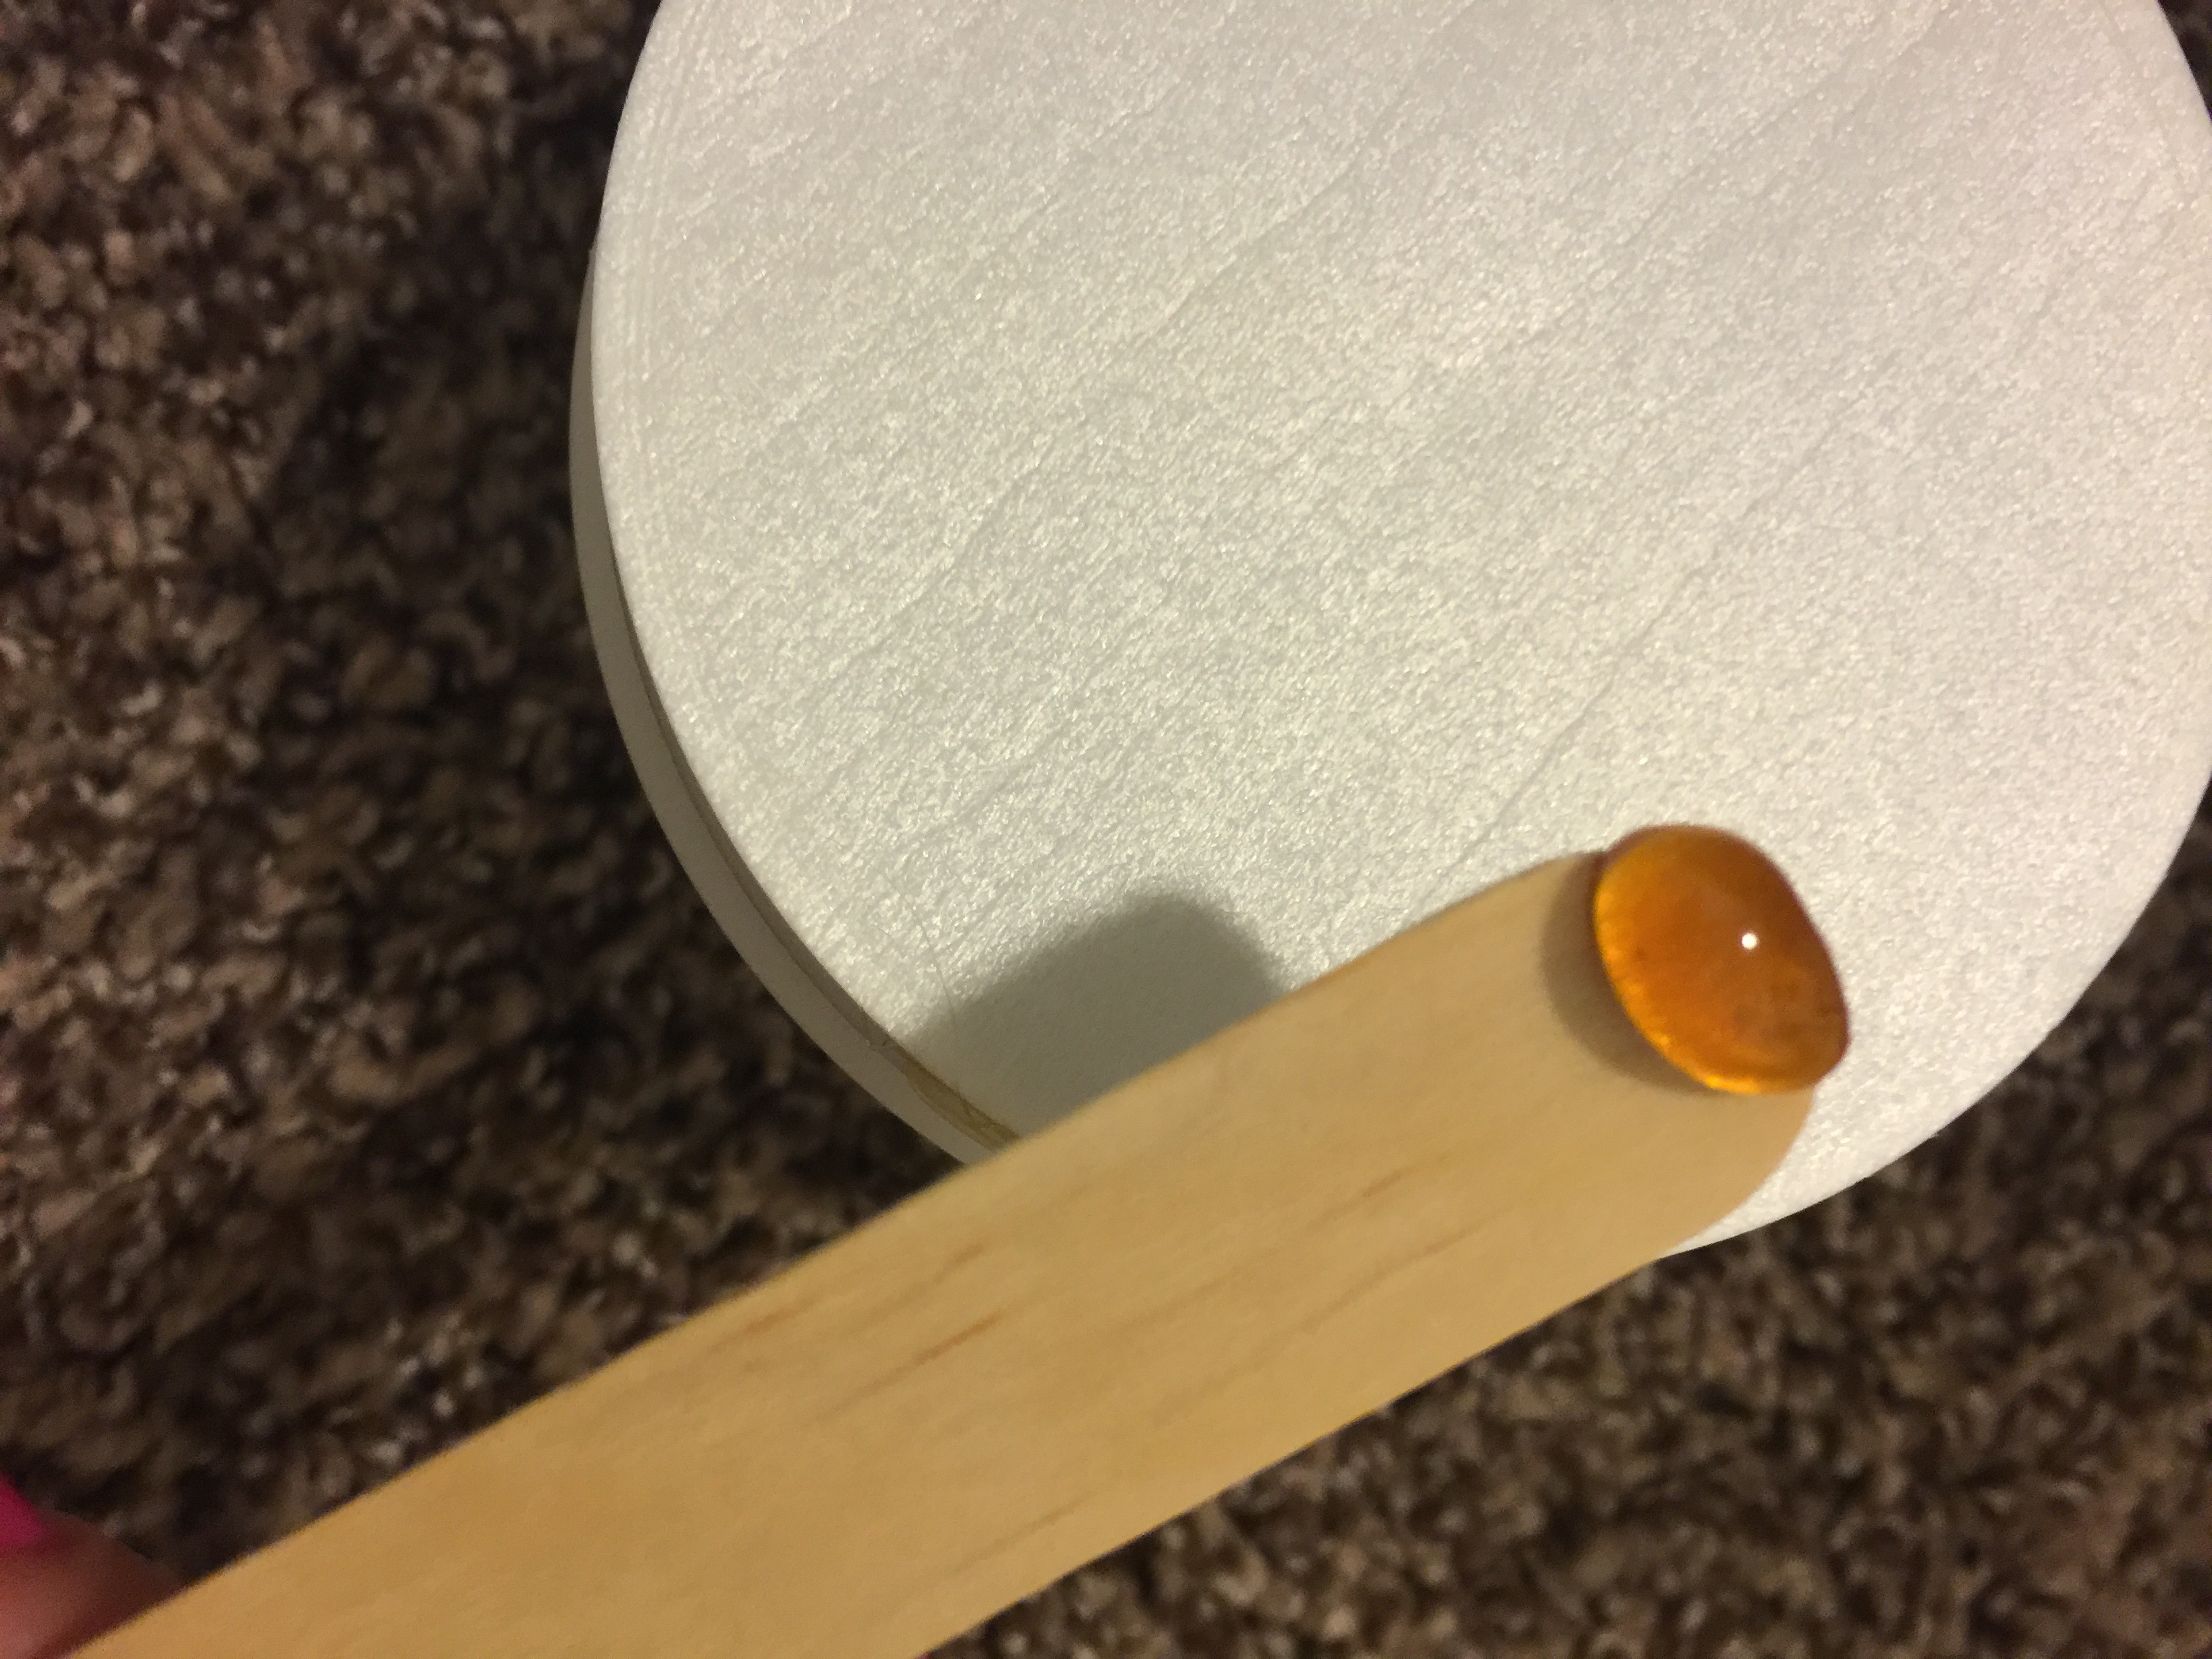
Before applying to more sensitive skin areas, be sure to test the temperature of the wax on the inside of a wrist to make sure it’s comfortable and won’t burn. After testing my wax, I then applied a long thin strip to my lower leg in the direction of my hair growth. Be sure when waxing to not apply too thick or you will have a hard time removing it completely with the wax strip. A little goes a long way! The wax goes on smoothly and evenly. If it doesn’t, you may need to warm it up in the microwave for a bit longer. Be sure to work quickly so the wax doesn’t have time to dry and harden (although this wax never completely hardens as you can see from the picture above at room temperature). Then quickly apply the waxing strip. Rub against the skin for about 5 seconds or so by smoothing down firmly against the skin about 3-5 times. Then rip off quickly in the opposite direction of hair growth, while holding skin taut. Also be sure to rip off quickly and parallel to the skin instead of ripping up, which will also help minimize pain. When using this wax on my legs, I found this wax to be completely painless. Again that will probably be an entirely different story for more sensitive, and smaller areas like the bikini line. Which is why it’s always good to go slow, apply to only small sections, and take you’re time.
*Also a good tip when applying wax to a more sensitive area, hold your hand against the skin firmly after removing the strip. This helps minimize pain as well by applying pressure to the area.
I found with this wax, I could work very quickly across my legs, having them done in less then 30 minutes. Just keep applying wax, strip, remove, until you’ve covered all the area containing hair you would like to remove. Be sure to not wax the same area twice.
Again if you find any wax you’ve missed, you can just wipe off your skin with a damp towel. It comes off very easily and effortlessly!
*Another good tip is to use baby oil on the area of the skin post-wax. This helps moisturize the skin and is also good for wiping away excess wax that may be left on the skin.


Overall, I’m completely impressed with my experience using BodyHonee’s at home waxing kit! It was very easy to use, and removed my hair quickly, evenly, and without pain or leaving my skin red afterwards! I was ready to go out that night with my mini skirt on and my legs looked and felt phenomenal!
The great thing about waxing that makes it so much more amazing than shaving, is that you can expect to go about 8 weeks before you will need to wax again! In fact, I find that some places, like my eyebrows, only need to be waxed every 3 months or so. Waxing is really great for saving time on hair removal, not to mention leaving amazingly super soft, hair-free skin, that you just don’t get with shaving.
BodyHonee is a fabulous product to help you get great results from at-home waxing! They are also cruelty-free, made right here in the USA, and their products do not contain any toxins, chemicals, or preservatives, so you can feel great about using it on your skin too!
If you would like to learn more about the amazing line of hair removal products from BodyHonee, be sure to check them out today at BodyHonee.com. You can also purchase it right here on Amazon.
Happy Waxing!
* I was given this product for the purpose of review. However, all thoughts and opinions expressed in this post are solely my own. I only share reviews with my readers, I feel will be beneficial or informative in some way.