After a recent divorce two years ago, my beauty lifestyle went through quite an abrupt change, as I found myself trying to get back on my feet and having to regain that complete independence I had left behind for so many years. I had to give up my monthly massages in order to pay for my internet to blog. I had to give up my beloved two-year eyelash extensions addiction I had filled every three weeks for a cool $100, in order to pay my own car and renters insurance. Yep, life was getting real – fast! I had to give up many of those lovely spa and beauty luxuries just to be able to get by.
Over the last few years, I’ve found other ways to indulge in the beauty I love, but without forking out the Benjamins for it monthly. While some things, like that super relaxing 90-minute Swedish massage, just can not be replaced by those $40 over-the-shoulder messaging tools (trust me, I’ve tried!) There are actually many other treatments out there you’re probably splurging on when you could be saving big bucks and no one (including yourself) would even notice the difference.
Read on for 5 of My Top Beauty Hacks you can do at home to save yourself money (and LOADS of time) monthly, without having to splurge on those pricey spa and salon treatments.
5 Top Beauty Hacks to Save you Time and Money:
1. The At-home EyeBrow Wax. I know what you’re thinking, you want me to do what? How will I ever get them even on both sides? Well, I’ll be honest, this one is going to take some practice, but you absolutely can do it and you will save yourself so much money! Just pick up a wax warmer, waxing strips, and a little bit of wax (eyebrows don’t require much!) You can find complete kits for the cost of 1-2 eyebrow waxings, that will last you a couple of years! – Even if you’re waxing religiously! It’s also easy to wax legs and underarms at home too!
How to Wax at Home: Simply warm the wax, apply a thin layer of wax to the skin quickly with a wooden spatula, place a strip over your eyebrow, rub quickly and vigorously with fingers to warm, then pull after about 5 seconds! It’s that easy! You will see a ton of hair on the strip as soon as you’ve pulled.
Tip: Go slowly in small areas like the eyebrows, apply only a little bit of wax at a time, and apply more than one strip until you get more confident in shaping your own brows. If you accidentally apply wax to areas you don’t want hair removed, wait until dried and remove wax with baby oil.
Tip: Save the bikini wax for the pros. I totally cheaped out and tried this at home once… WORST experience of my life! And I spent two very long, painful hours, picking off each piece of wax even after using baby oil, powders, and any other tip I could find online for removing wax from the body!
2. False Lashes instead of those expensive, time-consuming Lash Extensions. Falsies seem to get a bad rap, thanks to faux lashes of the past that looked cheap and completely fake. Today’s falsies look much more natural while still giving you va-va-voom volume and the super long length we all crave! The great thing about falsies is, that even the high-quality real mink lashes are a total deal compared to getting lash extensions each month, and you can re-use them over and over as long as you take care of them!
Oftentimes the common misconception about false lashes is that they are tough to apply, so many of us don’t even give false lashes a second thought. Sure, it can take a little practice, but I found after applying a pair every day for a week, I had it down pat by the weekend!
How to Correctly and Easily Apply False Lashes: The trick is to cut and shape the lashes first to fit the natural shape of your eyes. I find I have to remove about a third of the lash to fit my eyes. Then bend the lashes in your fingers by doing a sort of “wave” action where you round them out and flatten them out. This heats them up, so to speak, and gives them some shape so they will round out better around the eye instead of lying flat and then not contouring to the inner and outer eye.
Next, apply a thin layer of eyelash glue to the upper palm of your hand (just below the forefinger), then drag the lash from one end of the strip to the other lightly and smoothly through the glue. You should end up with a nice thin layer of glue along the lash line. If you have extra, use a Q-tip or the edge of a finger, to remove and push extra glue p to the lash line. Now bend the lashes again for about 30 seconds while the glue starts to dry and become tacky. Then line up with and place on the eye, starting from the outside and working your way in.. Use a light touch so you can move around if you didn’t quite get it perfectly placed the first time. I find it’s easier to close that eye to place the lash. Then once I have it placed, I push down firmly to make sure it adheres. Pay special attention to the inner and outer corners to make sure they aren’t sticking up. Once they’re on, quit touching them and let them dry for a few minutes to harden, I sometimes find I will need to trim the inner edge once the glue has dried. Just be sure to not trim your real lashes underneath!
3. At-Home Gel Manicure. Everyone went nuts with the Shellac and started hitting up nail salons left and right to try out this long-lasting chip-proof polish! Over the last year, many brands have figured out how to market Gel Polish for home use. While the results are often not quite as long-lasting and tend to chip a bit faster, you can still a ton of life out of your manicure by switching out regular polish for long-lasting gel polish. You just need to pick up a UV drying lamp (for about the cost of one gel manicure in the salon) and some Gel Nail Polish. (You can also save yourself money from having to buy new nail polish and pick up a special Gel nail polish treatment that you can add to any nail polish to turn it into a gel!)
How to Apply Gel Polish at Home: You don’t need a base or top coats with gel polish (again, saving yourself even more, money here!) Just file the nail, then apply gel in a very thin layer. Once done with the left hand, place in UV nail dryer for 60-90 seconds. Repeat on the right hand. You may find one coat is enough, but I often do two coats to make sure the polish looks rich and even.
Tip: Be sure to remove polish mistakes from hands as they will harden in the dryer -making it even harder to remove once dried. Once you remove your hand from the nail dryer, you will notice it has already completely hardened, and you’re good to go!
Tip: Apply a top coat the next day for a longer lasting gel manicure.
4. Sunless Tanner instead of visiting the tanning beds. First off, let me start by saying that tanning beds are unsafe, so you should be staying out of them anyway. I went through a spurt in my twenties, but now only practice safe “sunning” outdoors by always using sunscreen and instead, keeping a steady supply of sunless tanner around my house!
Tanning beds can end up costing a fortune to maintain that dark tan (especially in the cooler months) but inexpensive sunless tanner can be applied every day after your shower to get a deep, dark, rich, safe tan! Old orangy-fake-looking tans from sunless tanner is a thing of the past. Brands have really stepped up their game recently when it comes to a sunless tanner, and you can expect non-streaky, beautiful natural glows with each application!
How to Apply Tanning Lotion at Home: This hack is so simple and will save you so much time to get a nice, natural tan! Simply make sure skin is clean. It’s ideal to shower first before applying a sunless tanner. Then work your way up from the bottom of the legs, applying smoothly, lightly, and evenly. Once finished, then apply to knees, feet, and elbows with what’s left of your sunless tanner in your hand. This way, you will apply a much thinner layer in these spots (where streaks and unevenness tend to show up) and it will end up looking more even and natural. Don’t forget to apply to the back of your hands! Also, be sure to rub in the product really well and immediately wash hands afterward. Wait a few minutes to get dressed!
Tip: Use a tanning mitt for a more even application of tanning lotion and to keep your palms from looking more tan than the rest of you!
5. Clip in Hair Extensions instead of Expensive Salon Hair Extensions. Clip-in hair extensions are so easy and so natural-looking these days, that it’s crazy to go to the hair salon and sit in the chair for hours having this done! Plus, I love being able to take the heavy extensions out at night to give my head a break! You can’t do that when you’ve had them permanently placed by a salon!
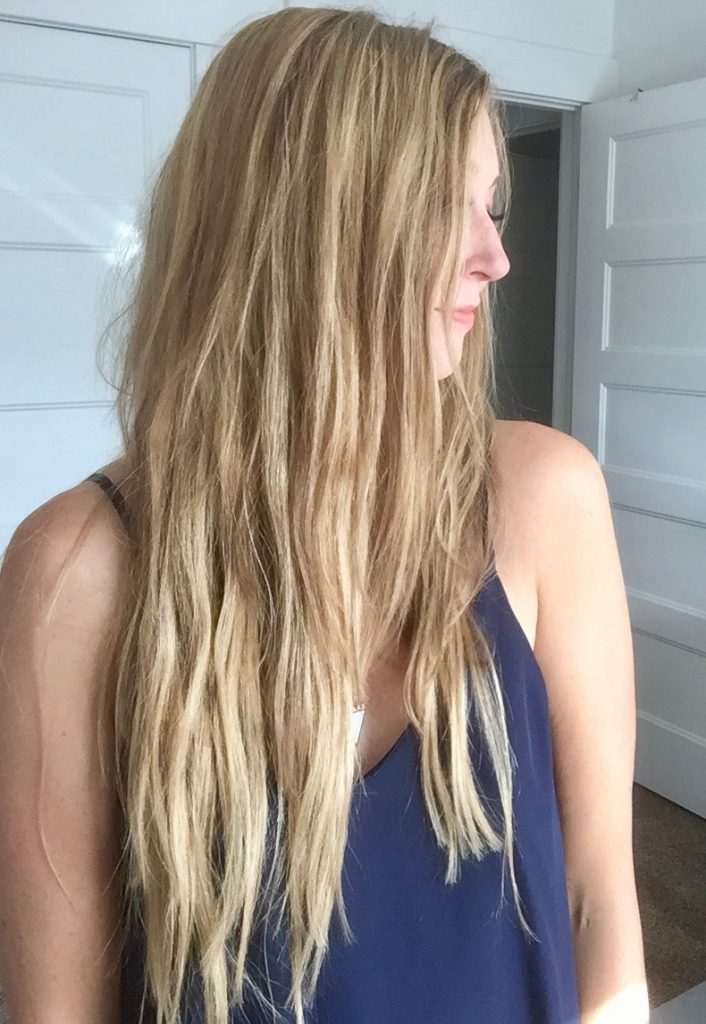
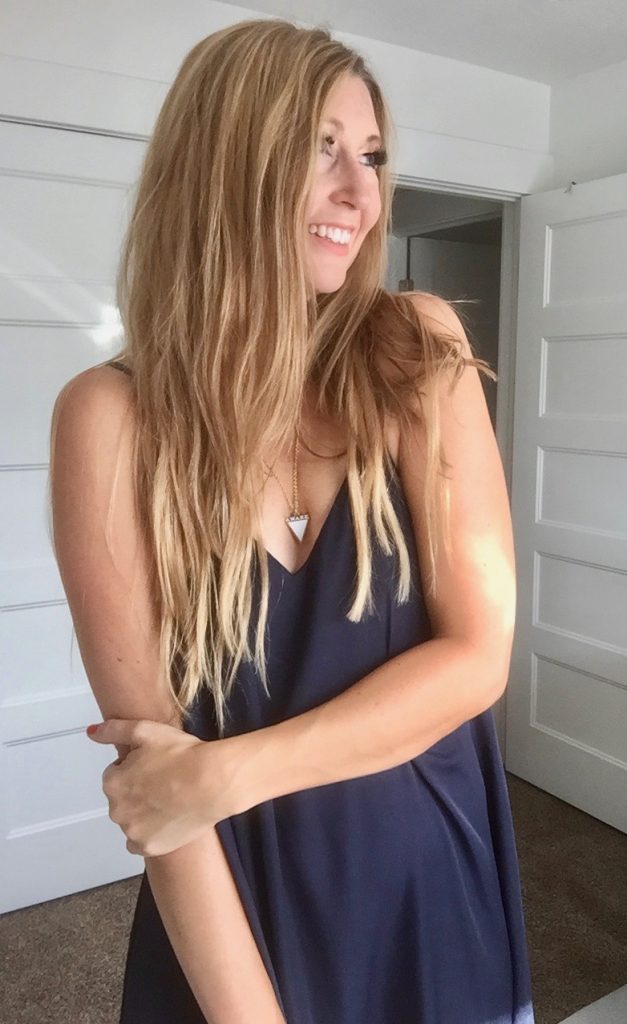
Just pick out a color close to yours. It doesn’t have to match perfectly as it will blend in your hair seamlessly with correct placement. My hair is naturally light brown but I’ve had tons of blonde highlights placed in my hair this summer, so I picked out a dirty blonde clip-in extension set, and it matched and blended in perfectly!
How to Apply Clip-in Hair Extensions: They look intimidating when you pull them out of the package and realize you have about 5-8 pieces to work with, but once you know how to place them, they are really very easy!
First off, pull each extension out of the package and lie flat on the counter so you can see the different sizes and what exactly you’re working with here. You will notice that some clip-ins are really short in width, with only one or two clips (these are your side front pieces). Others will be much wider and have 4-5 clips. (These are for the middle and back of your head).
Start at the bottom of your hair. Leave about one inch of your hair out and clip the rest up on the top of your head. Take one of your second widest clip-in extensions (not the widest) and place hair by clipping into hair just above the line you’ve created with your hair out of the clip, so it’s holding a bit onto the hair you have clipped up on your head). This will help keep the extension in place and from falling out. You’ll notice if you just place to the hair that is left out of your clip, that it won’t grip and will keep sliding down your hair. Start from one end and clip to the other end, making sure hair is placed evenly centered on the head
Once the first set is in, work your way up again another inch and repeat with another clip in (still not your widest extension yet, but close). Repeat a third time at the middle of your head, just above your ears. Here is where you will use your widest clip-in extension, as it covers the whole length of your head at this point.
Work your way up again with another longer piece. At this point, you should have only about 2-4 smaller clip-in pieces left. The wider ones go under your part about an inch down on each side. The tiniest clip-ins are placed right in the front, right under the top layer of your hair. These pieces are the most important and if you don’t place them under enough hair, they will stick out and look obvious. Make sure they are tucked under your natural hair nicely and move your head and hair around to make sure they can’t be seen.
Tip: You don’t always have to use all extensions provided in the package. In fact, if you have thinner hair, you may find only need a few. Play around with the extensions to find your most natural look! Also, practice makes perfect here, so give yourself some time to get it right the first time you apply them. After a few applications, you will find that you can find the perfect placement on your head much easier and more quickly the next time you choose to wear them!
There you have it! 5 of my super easy salon hacks you can do right at home, over and over again, to save yourself a ton of time and money, AND without sacrificing your beauty style! The only thing missing is that super relaxing foot massage with your salon pedicure, so be sure to give yourself a little extra pampering when applying these treatments at home so you don’t feel as though you’ve missed out!
Happy Beautifying!
What are some of your favorite beauty hacks for saving yourself time and money? Let me know in the comments, I love hearing from you!
Also, be sure to Follow MyStyleSpot on Twitter and Like on Facebook to stay up to date on all things beauty!






I’ve done my own manicures for years. Once in a blue moon, I’ll get them done with my sisters but I do a better job at keeping my nails healthy.
Same Here!
I love these hacks especially the eyelashes and the hair extensions. Thanks for the great tips!
Thanks so much Dana! Glad you enjoyed! xo xo
Divorce is a killer, isn’t it? (Been there, done that!) ((((((((((((HUGS)))))))))))) You have all great beauty hacks here, especially about using sunless tanners – I already had skin cancer once, not looking for a repeat. My suggestion – instead of just applying the tanner to clean, showered, skin, make sure you exfoliate in the shower, too. The “tan” will be much smoother and it last, longer, too!
Great tip Sandy, thanks for sharing! And yes, divorce… ugh… Sorry to hear you’ve had your own experience with it! Hope you are happier without them! 🙂 🙂 🙂
You’re darn right I am happier without them! Free at last, free at last…..!
Thanks for sharing will be aware
Thanks for your comment Rochelle