
Looking for the perfect updo this weekend? I have a fabulous, super easy updo even the hair novice can do!
“Sometimes you have but a few minutes to spare, and an event calls for an updo with a bit of class and sophistication. That’s when you whip out this bad boy: the three minute woven updo,” explains explains Wendy Rose Gouldbeauty expert for hair tutorial and advice site Latest-Hairstyles.com.
“As the name implies, this hairstyle takes all of 3 minutes to recreate. Not to mention, the finished look makes it seem as if you spent hours slaving away in front of your mirror. We’ll leave it up to you on whether or not you want to reveal just how simple it was to do when the oohs and ahhs start rolling in. For this look, all you need are some bobby pins and a bit of hairspray. You can also apply a nourishing serum to your hair before starting in order to create glossier locks. Oh, and for your convenience, we’ve included a text tutorial, video tutorial and a photo tutorial. Whew!”
The 3 Minute Woven Updo:
Step 1: Gather Front Section of Hair
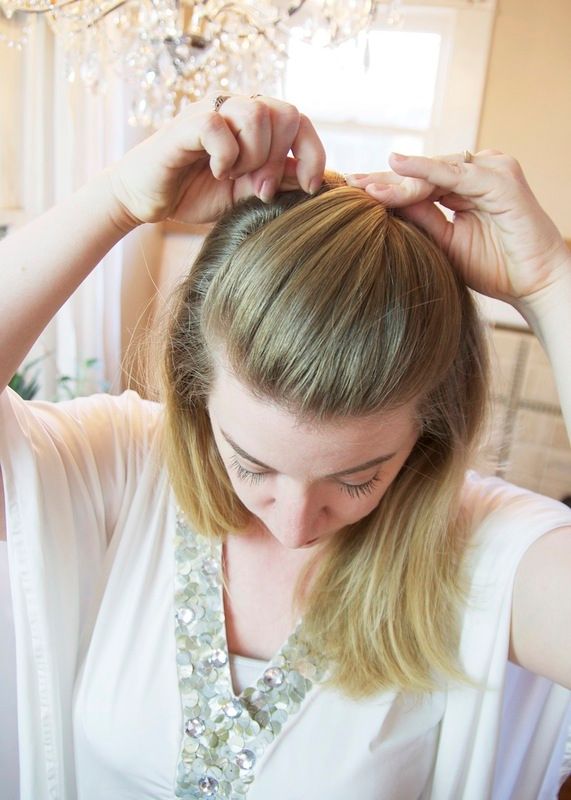
Take a small section of hair from the front of your head. Gently twist and then push section up a little bit to create some lift at the top of your head. Secure with two criss-crossed bobby pins.
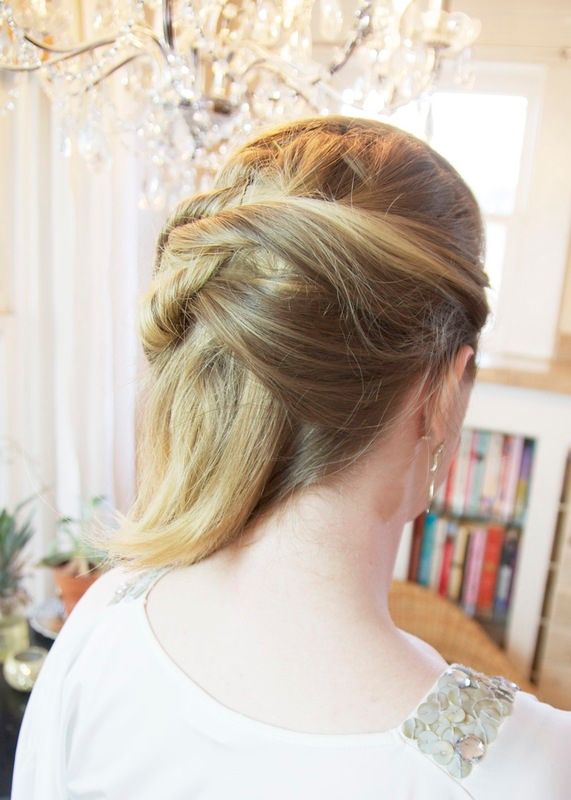
Step 2: Twist a Small Section
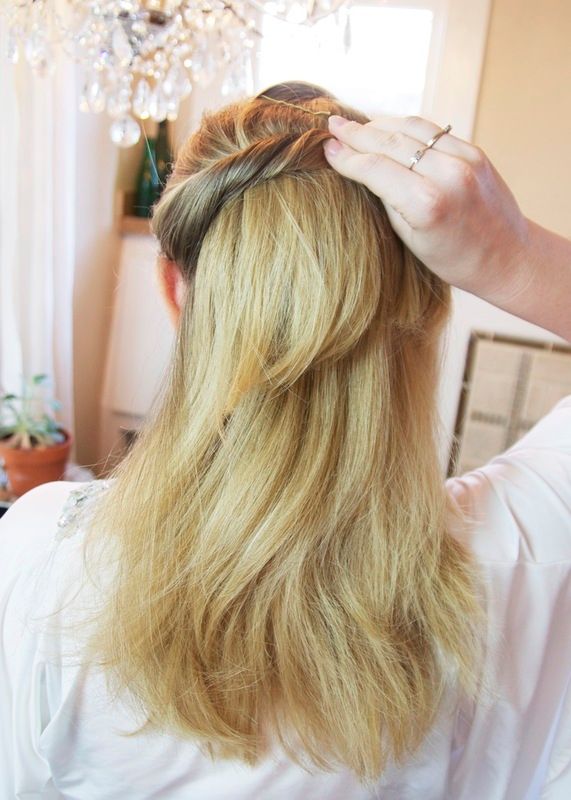
Take the section of hair that begins just above the ear and ends where your front section stopped. Gently twist it and drape across the back of your head, then secure.
Step 3: Repeat On The Other Side
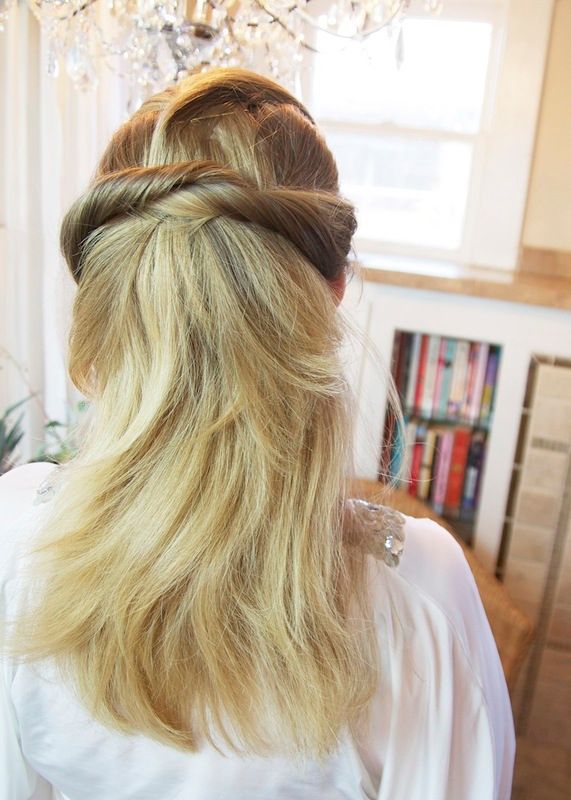
Do the same thing again on the opposite side of your head. To conceal your bobby pins, drape this second twisted section over the last bobby pin. When securing this section, make sure the bobby pin you use is tucked under the other twisted section of hair.
Step 4: Repeat Steps 2 and 3
Follow steps two and three again, this time using sections of hair from behind the ear. Secure with bobby pins.
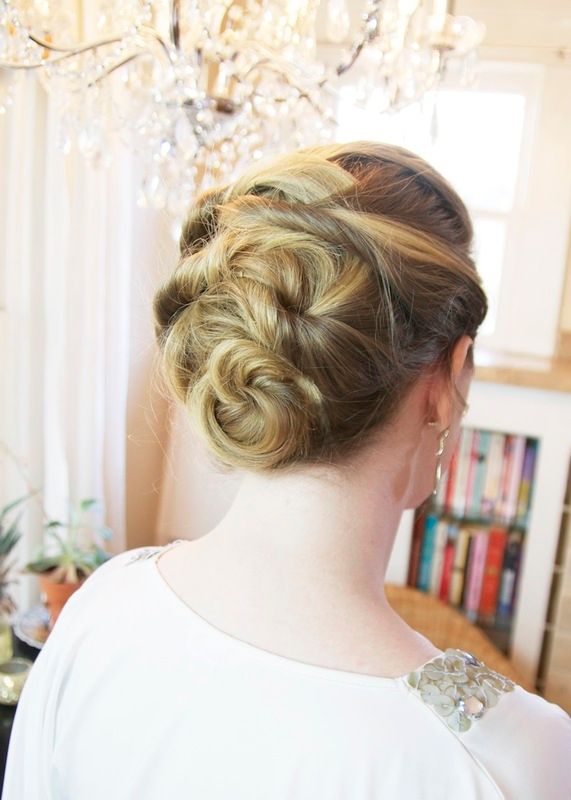
Step 5: Create a Bun
Gather the leftover section of hair. Start twisting it and then wrap it into itself to create a simple twisted bun. Secure with bobby pins. If you have layered hair like me, you may have pieces sticking out. Tuck them in and then spray lightly with hairspray. You can also apply a light coat of hairspray over the entire look to keep everything in place.
Still a bit unsure how to get the look? Watch the how-to video here: https://www.youtube.com/watch?v=FX5pgMhwdBA
Happy Styling!